In the beginning was Donald Featherstone.
At least, that was the case for me. War Games was the first wargaming book I ever encountered, in my local library around 1970. I continue to dip into The Don's books in the odd quiet moment, and many of his ideas have stuck with me over the decades, awaiting a re-awakening.
At least, that was the case for me. War Games was the first wargaming book I ever encountered, in my local library around 1970. I continue to dip into The Don's books in the odd quiet moment, and many of his ideas have stuck with me over the decades, awaiting a re-awakening.
One of those ideas is the use of a curtain across the wargames table, to provide a very simple, direct and dramatic representation of 'the fog of war'. This idea is rarely seen or even discussed these days, but in my humble opinion it deserves greater attention. I mentioned it on this blog a few years ago, and the contraption I devised at that time has mostly remained under the marital bed since then, rarely seeing the light of day. Recently, I decided it was time to use this device once again, to spice up some attack-defence games I had developed. But before I present a couple of HoW scenarios using this old-fashioned but delightful contrivance, let's recall the words of the man himself.
Another variation is to erect some sort of curtain or barrier across the middle of the table so that each general can lay his troops out without his opponent being able to see his dispositions. Many horrible shocks await each general when the curtain is lifted! The commander of Blue army discovers to his horror that the enemy has a great preponderance of cavalry on their left flank whereas he has but one puny infantry regiment facing them. His own strong left flank, with which he intended to battle away at the enemy, are massed threateningly enough, but unfortunately there is nothing opposite them. This makes for hasty rearrangement and even the best-laid plans of battle can come to naught when the curtain is lifted.
Battles With Model Soldiers, (1970), p. 32.
Anyway, on with the show - here are two scenarios written for HoW which include the use of a curtain across the table. Modern-minded wargamers will be relieved to find that I offer alternative deployment options for those unwilling or unable to deploy such a device. As in the rulebook scenarios, the games are sized for 28mm troops organised in accordance with my suggestions. I have come to realise that HoW players are amongst the most quick-witted and enterprising of wargamers (well, naturally), so any adaptions to other figure sizes and organisations are left safely in your hands.
1. The Action At Inzl
This scenario adds an extra factor to the whole curtain thing by making the fog of war affect terrain as well as troops. As we all know, even the defending side might only have a rather sketchy knowledge of the terrain occupied by, or being advanced over by, the enemy. Therefore, as well as deploying their troops in secret, players will have some terrain items to place where they wish, hopefully to their advantage and the enemy's disadvantage.
The map shows a 6' x 5' table, with grid squares at 1' intervals. The fuzzy line across the centre indicates the position of the curtain.

The Blue force is attempting the block the advance of a slightly
larger Red force. Blue has taken up position behind a stream around the imaginary village of Inzl. Red is attacking from the north.
Red – 13 units,
Army Break Point = 6
Commanding General
Infantry Brigade: 3 infantry battalions
(superior)
Infantry Brigade: 3 infantry battalions
Cavalry Brigade: 2 cavalry regiments
Cavalry Brigade: 2 cavalry regiments
Artillery Brigade: 2 medium batteries
Independent Artillery: 1 howitzer battery
Blue – 10 units, Army Break Point = 5
Commanding General
Infantry Brigade: 2 infantry battalions
Infantry Brigade: 3 infantry battalions, 1
medium gun
Independent Light Infantry: 1 light infantry battalion
Cavalry Brigade: 2 cavalry regiments
Independent Artillery: 1 medium battery
Force Notes
As usual, I suggest that players juggle troop types to balance out relative National Characteristics. However, having a brigade of top quality infantry in the attacking force is a good idea to give the attacker a real chance of victory.
Force Notes
As usual, I suggest that players juggle troop types to balance out relative National Characteristics. However, having a brigade of top quality infantry in the attacking force is a good idea to give the attacker a real chance of victory.
Scenario Conditions
Red is the designated attacker. Set up the table as per
the map, and then place a curtain across the middle of the table.
Red can deploy anywhere up to 30cm from their table edge.
In addition, the Red player must place 2 extra terrain pieces (a hill and a wood, of medium size) on his side of the table, but outside his deployment area and not
within 10cm of the curtain.
Blue can deploy anywhere behind the stream. In addition, he must place 4 extra terrain pieces (a
bridge, a wood, a hill and a marsh, the latter 3 of relatively small size) on his side of the table,
but not within 10cm of the curtain. The bridge must, of course, be set up
across the stream.
The stream has steep banks and counts as a passable river. The
village will be classed as a rural BUA. All hills are gentle.
Use the normal victory conditions from the rulebook. The village is worth 1 Army Point. For each Red unit in good morale (3 hits or less) that reaches the Blue side of the
stream, Blue loses ½ an Army Point.
If not using a curtain, set up all the terrain as desired, then Blue must deploy either 2 brigades, or 1 brigade and 1 independent unit. Then continue deployment by alternate brigades or independent units from each side, using the deployment zones already described. Obviously, Red will have the luxury of deploying his last 3 brigades or units in full knowledge of where Blue is.
2. The Combat At Lützingen
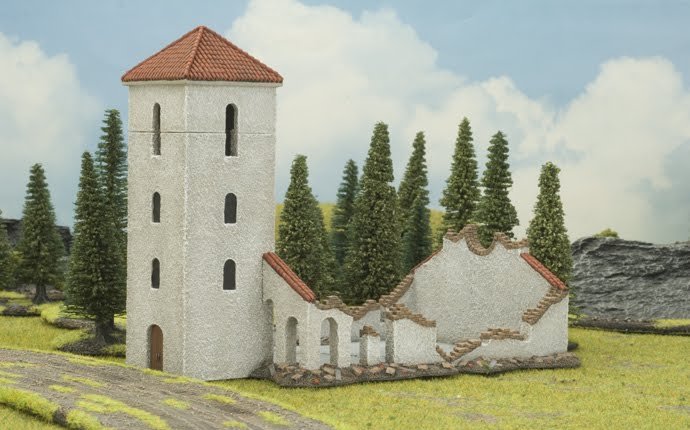
Here, Blue is defending the town of Lützingen, which is off the table to the north. The Blue force has taken position around a road junction south of the town. The Red force intends to attack and defeat Blue in order to occupy the town. In this scenario the terrain is pretty basic and so is fully laid out before the battle.
I have drawn the map for the common table size of 6' x 4'. Once again the position of the curtain is shown by the fuzzy line, in this case slightly south of the table centre.

Force Notes
Inzl:
Lützingen:
If not using a curtain, set up all the terrain as desired, then Blue must deploy either 2 brigades, or 1 brigade and 1 independent unit. Then continue deployment by alternate brigades or independent units from each side, using the deployment zones already described. Obviously, Red will have the luxury of deploying his last 3 brigades or units in full knowledge of where Blue is.
2. The Combat At Lützingen
Here, Blue is defending the town of Lützingen, which is off the table to the north. The Blue force has taken position around a road junction south of the town. The Red force intends to attack and defeat Blue in order to occupy the town. In this scenario the terrain is pretty basic and so is fully laid out before the battle.
I have drawn the map for the common table size of 6' x 4'. Once again the position of the curtain is shown by the fuzzy line, in this case slightly south of the table centre.

Blue - 13 units, Army Break Point = 6
Commanding General
Infantry Brigade: 3 infantry battalions
Infantry Brigade: 2 infantry battalions
Infantry Brigade: 2 infantry battalions (inferior)
Independent Light Infantry: 1 battalion
Cavalry Brigade: 3 cavalry regiments (off table at game start)
Artillery: 2 medium batteries
Red - 15 units, Army Break Point = 7
Commanding General:
Infantry Brigade: 4 infantry battalions (superior)
Infantry Brigade: 4 infantry battalions
Cavalry Brigade: 2 cavalry regiments
Cavalry Brigade: 2 cavalry regiments
Artillery: 2 medium batteries, 1 heavy battery
The artillery on each side may be fielded independently or included in any
infantry brigade. As with the previous scenario, the suggestions for infantry quality on both sides are made to provide an interesting and fairly balanced game - Red's numerical superiority is limited and he will need a qualitative edge.
Scenario Conditions
Red is the designated attacker. After setting up the terrain as shown, place the curtain across the table in the position indicated. Red forces deploy anywhere up to 20cm from their baseline. Blue forces may deploy 1 x average die units up to 50cm from their baseline, these units to be selected as preferred by Blue. The remaining Blue units deploy up to 30cm from their baseline.
The Blue cavalry are in reserve in Lützingen – they arrive at the start of move 4 on a roll of 4-6. If this fails, add 1 to the roll on each subsequent move. They may arrive up to 20cm either side of the road.
All hills are gentle.
Each side seeks to break the other, in accordance with the usual victory conditions. Blue loses ½ an Army Point for every Red unit in good morale on the northern hill or north of the east-west road.
If not using a curtain, simply deploy by alternate brigades or independent units, with Blue starting. Use the same deployment zones and distances.
If not using a curtain, simply deploy by alternate brigades or independent units, with Blue starting. Use the same deployment zones and distances.
Pre-Game Bombardments
The website has some simple new rules for these, which I feel can add interest (and perhaps a little extra realism) to an attack-defence game. They can be found on the 'Amendments & Clarifications' download, and would make a good addition to either of the above scenarios.
Some Photos
The reader will be relieved to know that both these scenarios have been playtested and should give good games. Shown below are a few photos to give an idea how they played out with my own 28mm figures. Suffice to say I lost at Inzl, and played out Lützingen solo, where the attacker won. Yes, alright, I didn't actually use the curtain for the solo game. No sniggering at the back.Inzl:
 |
| The cosy and slightly claustrophobic feel you get whilst under cover of the curtain is shown here. An experience no wargamer should miss, as you cunningly plot your opponent's downfall in near-total privacy. |
 |
| Curtain up. A self-satisfied expression suggesting that the other player has failed to surprise you is recommended. |
 |
| Two dragoon regiments against a lonely light infantry battalion? No problem, I thought. I was wrong - the lead regiment was thrown back and the second thought the better of it. Light infantry are surprisingly sticky in any sort of cover. |
 |
| Attacking grenadiers push up to the stream hoping to create space for the cavalry to cross... |
 |
| ...and succeed! The force commander is on the spot to urge his flank attack forward. |
 |
| But whilst the attacking cavalry is counter-charged, the enemy infantry reforms... |
 |
| ...and linear warfare is restored. Reminded me a bit of Leuthen! But in this case the Austrian defence had reformed so neatly that in the end the Prussians lost. |
 |
| A reminder to pay attention to movement initiative. I hung these limbered guns out to dry in close proximity to those blasted Croats. They were charged and destroyed - 2 units lost! |
Lützingen:
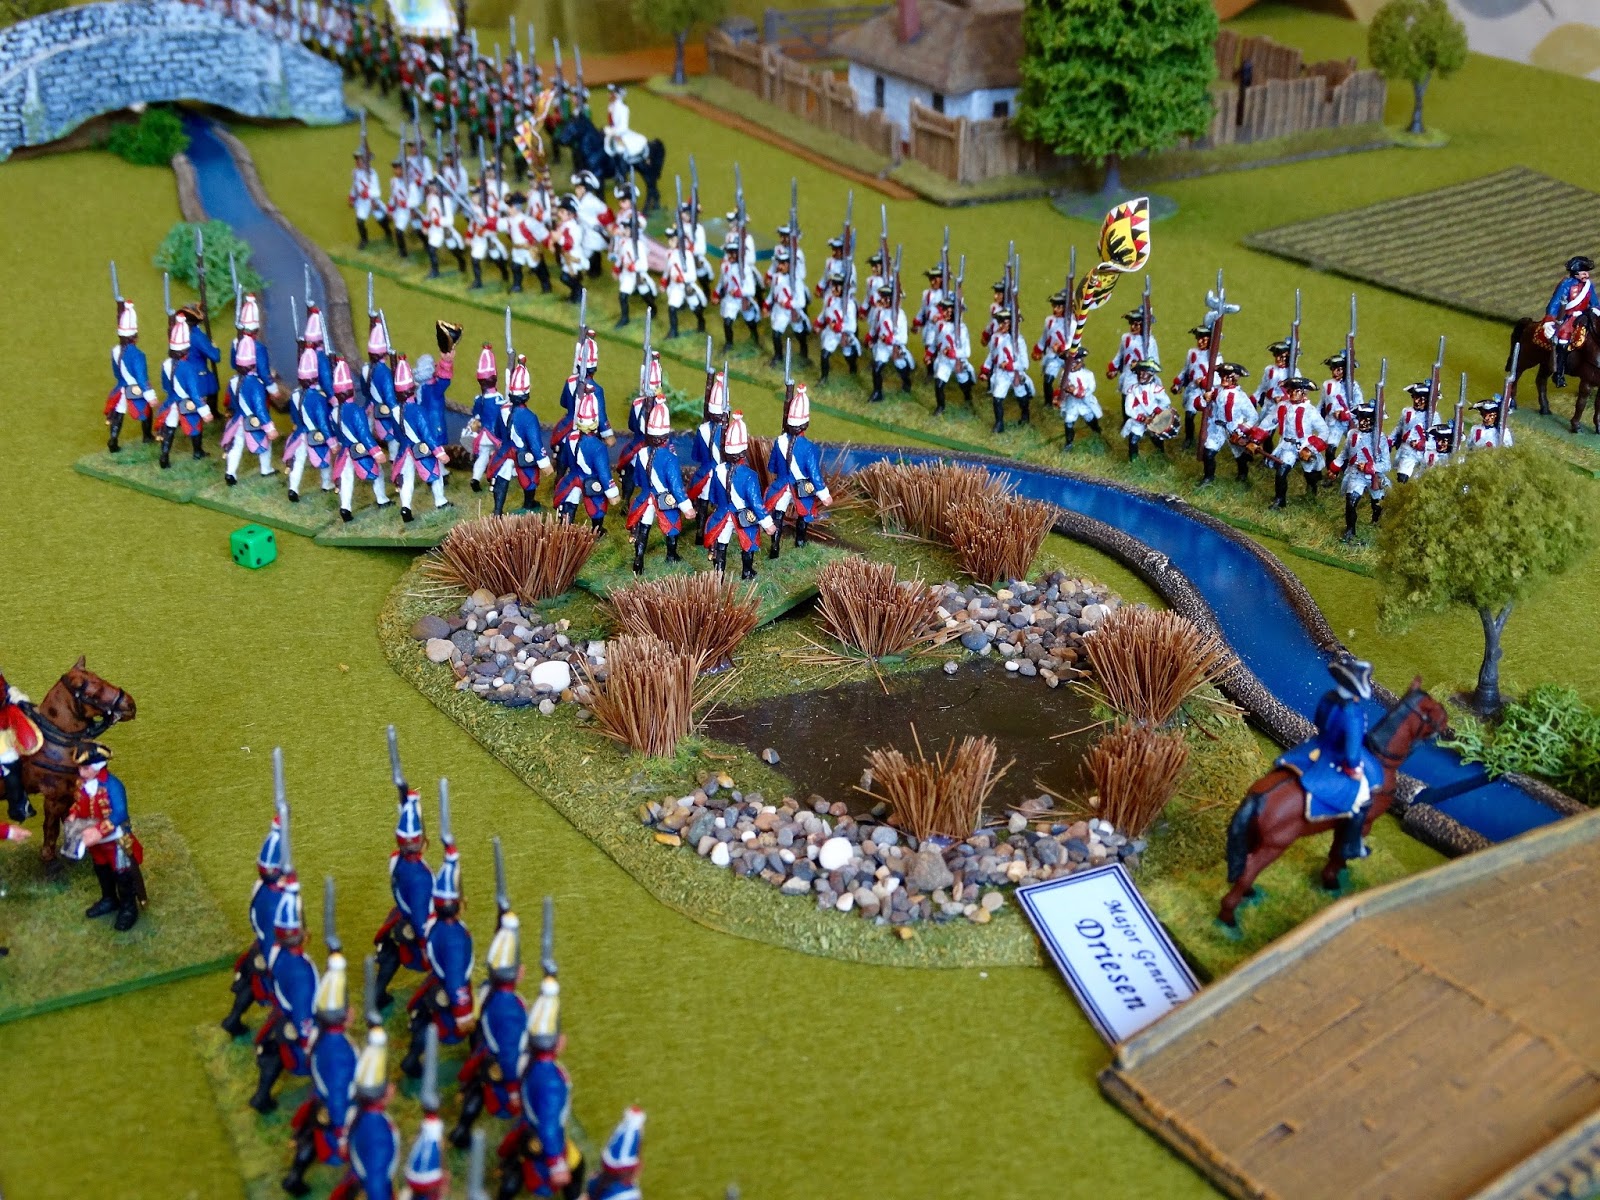
 |
| The set-up. The attacking Prussians went for a strong right flank, with all the cavalry present and supported by the grenadiers. |
 |
| The Prussian heavy battery stayed in place the whole game and provided worthwhile support. |
 |
| The attacking grenadiers overwhelm the Grenz infantry in the east wood. Nevertheless, the grenadier unit seen in melee was also thrown back at first. |
 |
| Not something you see everyday in HoW - cavalry charging infantry. In this case the 'superior' class cuirassiers are prepared to take on an isolated and 'inferior' Bavarian battalion. They succeeded handsomely. |
 |
| At this stage of the game (move 4), the Prussian tactics are working - the strong right flank has pushed the Austrians back with significant losses. |
 |
| The Austrian cavalry finally arrived on move 5, but had a very cramped area to deploy into. |
 |
| The dithering commander of the Prussian left flank infantry had been very dithery indeed. Here he at last gets his men forward after some stern words from his commanding general, and begins to overwhelm the smaller Austrian brigade facing him. |
 |
| To cut a long story short, the Austrians fought manfully but collapsed in move 9, losing 4 units in that last move. The Prussians (Red) had lost 5 units, the Austrians (Blue) 8. |
To Conclude...
Yes, it's time to get constructing those curtains (mine is actually a table cloth). They're only present for the time it takes to deploy, but they make for a great game. They are of course particularly suited to the Ancient and Horse and Musket periods, but they could also have their place in the more simple type of Modern battle. As a way of creating a bit of surprise and representing that feeling of not knowing what the enemy is up to, they are simple but effective, and add interest to straightforward attack-defence games.
Maybe some of you will prefer a sheet of hardboard, or a line of terrain tiles set on edge. Let me know of any bright ideas you have.
'Til next time!
Maybe some of you will prefer a sheet of hardboard, or a line of terrain tiles set on edge. Let me know of any bright ideas you have.
'Til next time!